To create these drawings, I used the dark room at college as it is perfect as it was made so that no light entered the room until the lights are turned on. Before I turned the lights off, I set the digital camera on a tripod and adjusted the focus of the lens so that everything was clear. The lights were then turned off and the light drawing began.
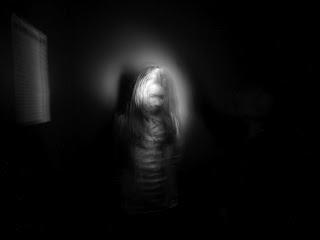 |
| This was not the initial intention when I took this photograph but after looking at it, I like the way my model's head was blurred when the light was on her. This image was originally in colour and you could see my model's hair colour, top colour etc, however I preferred to change it to black and white as it reminded me of those creepy old ghost photographs. |
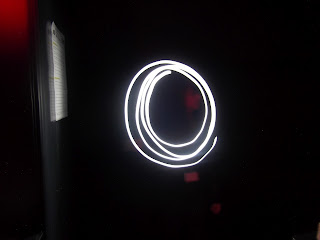 |
| I did this to see how well the lines would come out on the camera when moving it at a fast speed. |
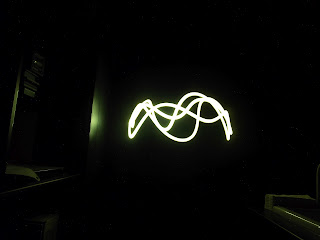 |
I overlapped the light in a curvy fashion to represent waves.
I achieved the faint yellow glow by placing yellow tissue paper over the torch I was using. |
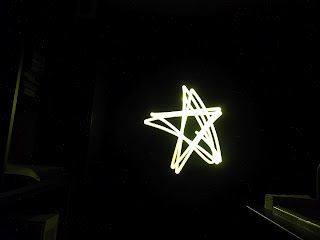 |
Star
Like the light drawing above, I placed yellow tissue paper over the torch.
I drew a star as it is a direct link to light along with the fact it was drawn with light. |
 |
X
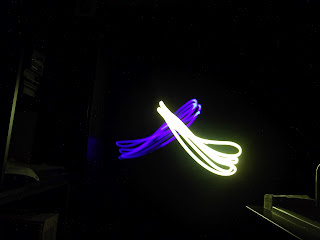
To create this image I used to torches, one covered in blue tissue paper (because of the way the light travelled through the paper, on some photographs the colour looks purple) and the other covered in yellow tissue paper. I used both torches at the same time, crossing over each other to create a cross (x). |
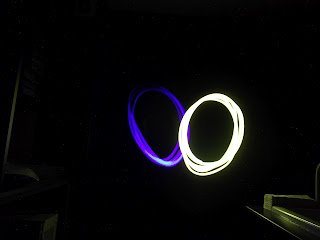 |
| Like the drawing above, I used two torches at the same time to get two different coloured circles. |
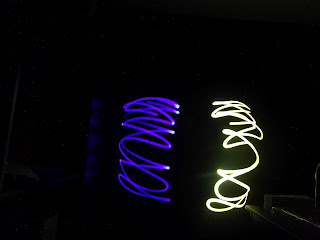 |
| The reason I drew two patches of 'zig-zag' lines was to see the effect the different colours made in a light drawing photograph. In my mind the blue seems to hold an emotion whereas the yellow light seems more of a magical essence that can be used to highlight people if used. |
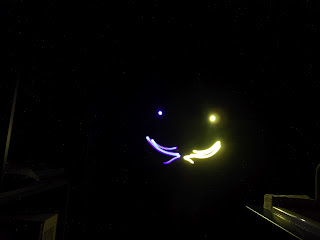 |
Smile.
This is one of my favourite light drawings. Like before I used both torches at the same time, and from working at opposite ends I managed to create a smiley face that was half blue and half yellow. |
 |
| Seeing as the digital camera I was using had a maximum of 5/7 seconds when holding the shutter speed down, I drew my name in six individual photographs. When it came to the 'g' and the 'e' I had to reverse the letters when I was drawing them with the torch so that they came out the right way in the photographs. |
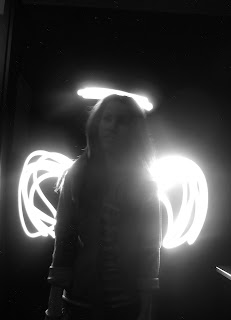 |
Angel.
As you can see in the three images below, this angel took three stages to complete. The digital camera I was using did not have a longer shutter speed than 5/7 seconds, so there was simply not enough time to draw the halo and the two wings in one shot. I asked my model to stay very still and in the same position in order for my idea to work. I drew the halo in one shot, and drew each wing in a different shot also, giving me three light drawings. I uploaded all three onto one of the Macs at college and opened Adobe Photoshop. Using the layering tools, I placed all three photographs on top of each other so my model's body corresponded and then edited the blending options in order for all of the light I had drawn (the halo and both wings) to show through onto one image. Finally, I changed the photograph to black and white as I think the light drawn contrasts better with the black background. |


No comments:
Post a Comment